
The product in detail.
Kit Tubeless Definite Muc-Off: All the Necessary to Convert Your Wheels
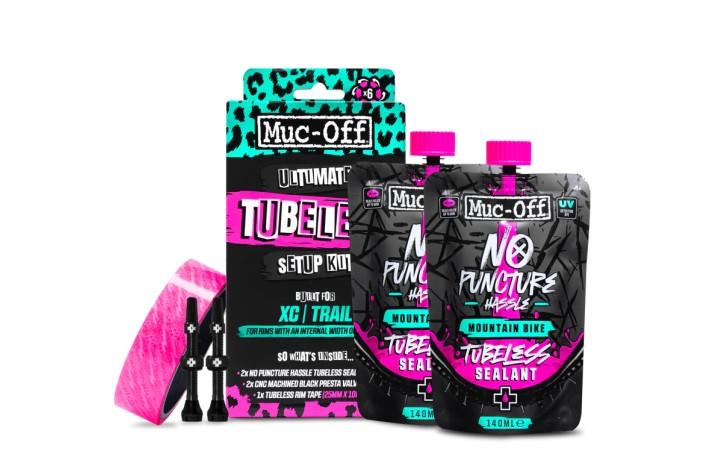
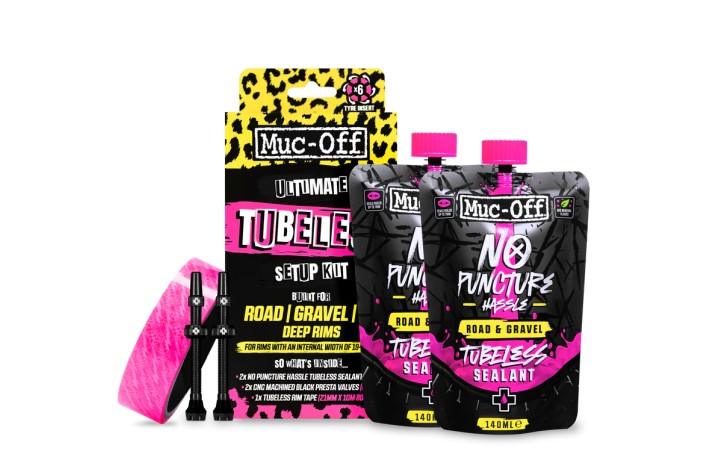
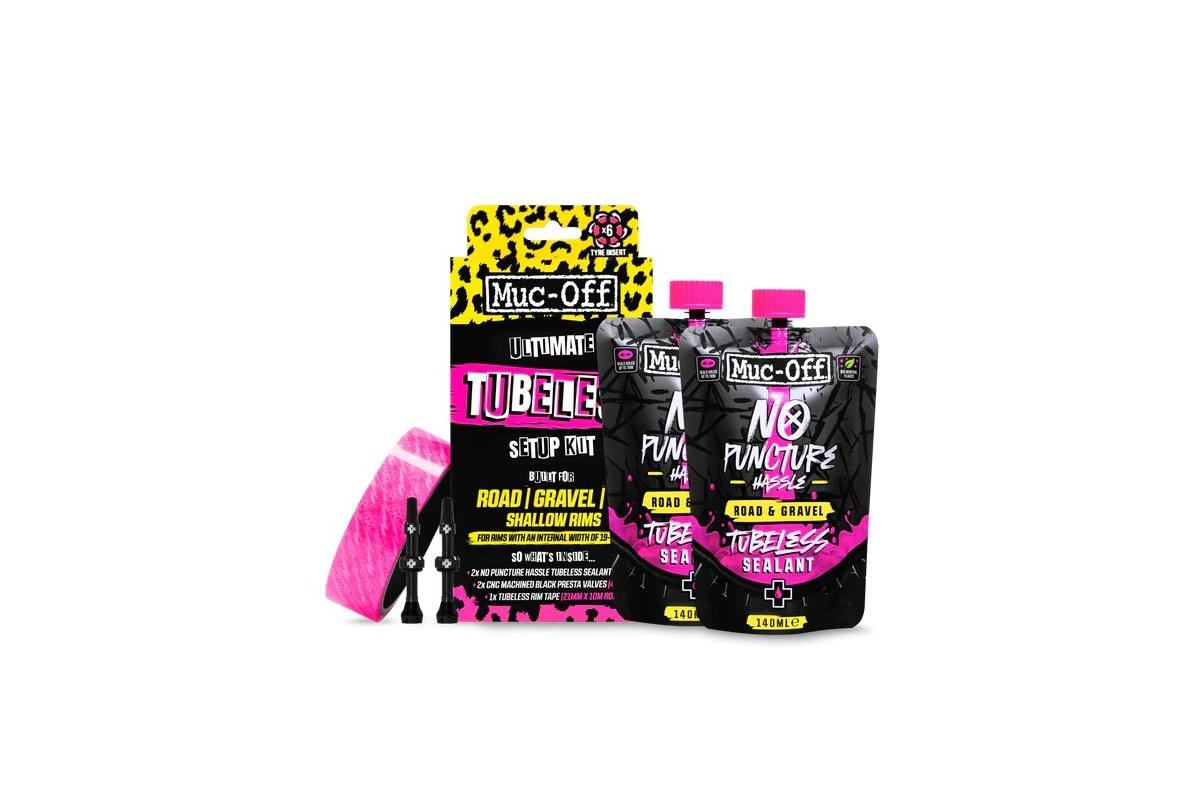
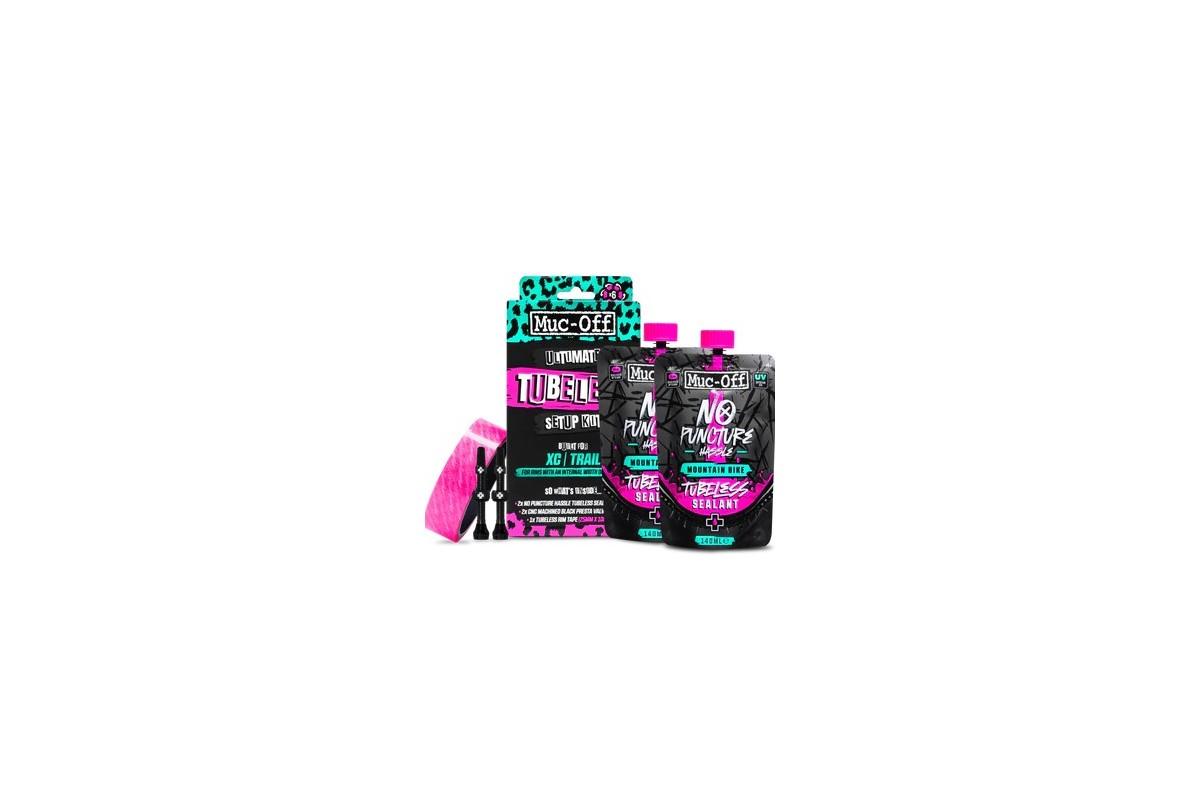
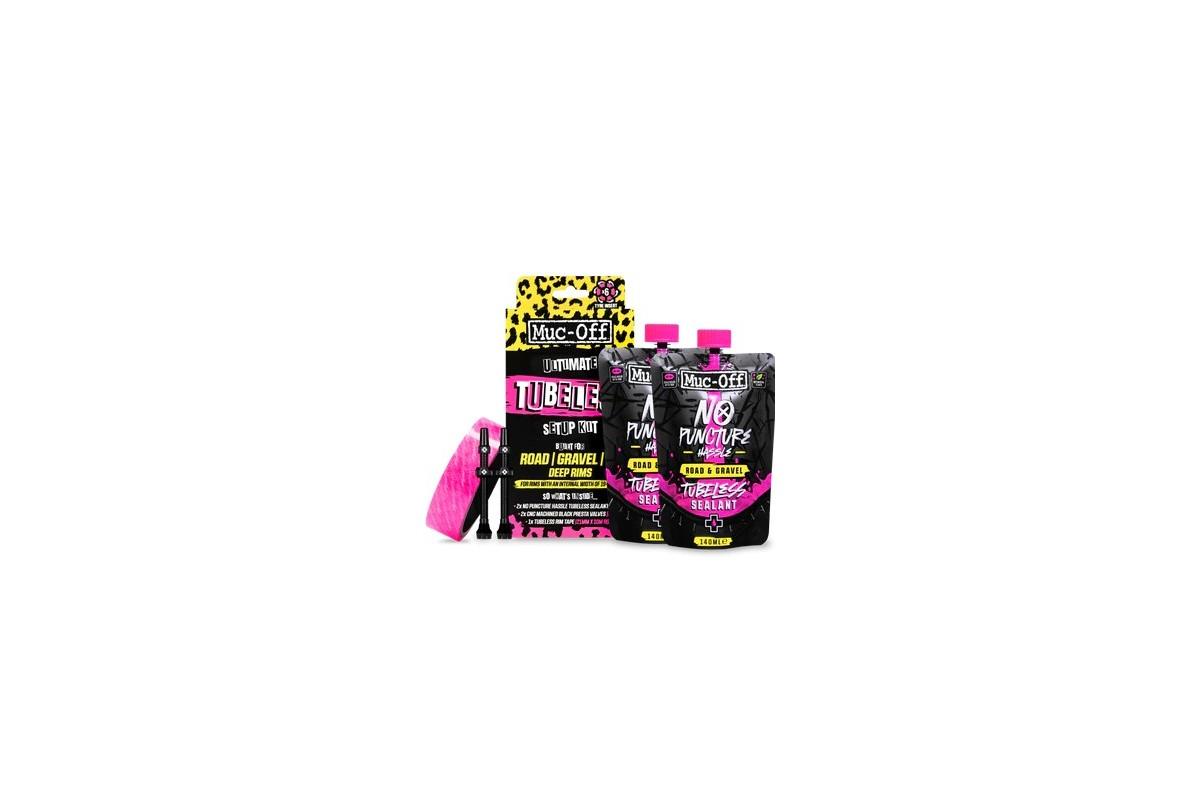
The Muc-Off Definitive Tubeless Kit is a complete solution that contains everything you need to easily convert a set of wheels into a tubeless-ready system, ready to roll with greater efficiency and protection from drilling.
Kit Content
Each kit is designed to be immediately operational and includes:
-
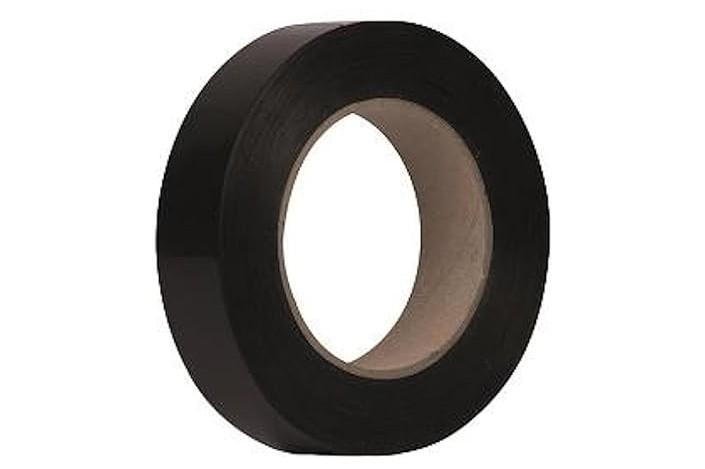
Muc-Off Tubeless Ribbon per circle: Essential to seal the channel of the circle.
-
Seal patches: For any small imperfections or holes in the tape.
-
2 black tubes machined from CNC tubeless: High quality valves, resistant and functional.
-
2 sacchetti di Sigillante per pneumatici tubeless No Puncture Hassle: The high-performance sealant of Muc-Off to instantly repair small holes.
Specific Kits for Every Discipline
Muc-Off has thought of every type of cyclist, offering 5 different configurations of the kit, optimized for the specific needs of the rim width and depth of the same:
-
Road/Ghiaia/CX with shallow circles: Valves from 44mm and tape from 21mm x 10m.
-
Road/Ghiaia/CX with deep circles: Valves from 60mm and tape from 21mm x 10m.
-
XC: Valves from 44mm and tape from 25mm x 10m.
-
DH/Enduro: Valves from 44mm and tape from 30mm x 10m.
-
DH Wide: Valves from 44mm and tape from 35mm x 10m.
Detailed Guide to Installation
Here is a step-by-step guide for a perfect installation:
-
Preparation of the Circle:
-
Remove the entire old circle strip or tape.
-
Make sure the circle is clean and dry before applying the tape.
-
-
Application of the Tubeless Tape:
-
Take the tape and line it up from the opposite side of the valve hole.
-
Start by unrolling a small amount of tape and press it with your thumb or finger to keep it in place.
-
Keep holding the tape while you pull it and attach it firmly, making it stick well throughout the circle perimeter. If the circle has a pronounced concave, you can pull and move the tape to fill any edges.
-
Overlay the tape by about 10-15 cm.
-
Leave a small amount unframed so you can cut the rest.
-
Once you've cut it out, lay down and pull the tape down to create a complete seal.
-
Pass your thumb around the circle to make sure there are no air bags or non-stick areas.
-
-
Installation of the Tubeless Valve:
-
Once satisfied with the tape application, use a small pin to locate the valve hole and cleanly hole the tape.
-
Take your tubeless valve and remove the lock ring and o-ring.
-
Choose the right rubber for your circle and insert the valve into the hole.
-
Remount the O-ring and the locking ring, ensuring you lock the valve (do not tighten too much to avoid damaging the rubber).
-
-
Installation of the Pneumatic and Inflating Initial:
-
Reassemble the selected tyre by careful not to damage the tape (avoid aggressive use of tire levers).
-
Inflate the tire to create a grip between heel and rim (you should feel some "spoke" while the tire settles).
-
Release the air and remove the valve core using the spare valve cap (which also acts as a key).
-
-
Insertion of the Sealant:
-
Take the sealant bag and shake it well.
-
Unscrew the bag cap and put it on the valve upright.
-
Holding the bag, turn the wheel down so that the bag is now turned upside down.
-
Insert the sealant by rolling the bag down.
-
Turn the wheel to the top right and remove the bag.
-
-
Final Inflating:
-
Reinsert the valve core.
-
Inflate the tire at your favorite pressure.
-
Now you are ready to enjoy the benefits of a tubeless system: more grip, less risk of puncture and smoother driving!